Achieving salon-quality hair does not always require expensive products. In fact, some of the most effective solutions are found right in your kitchen. Learning to create DIY hair oil treatments at home empowers you to tailor your hair care routine to your specific needs, using pure, natural ingredients. This guide will walk you through the benefits, best oils, and simple recipes to transform your hair from dull to dazzling.
Why natural hair oils are a game changer for your hair

Natural oils offer a direct, potent source of vitamins, fatty acids, and antioxidants essential for hair health. Unlike many commercial products that use silicones to create an artificial layer of smoothness, natural oils penetrate the hair shaft to moisturize and repair from within. They work by replenishing the natural lipids in your hair, which are often stripped away by washing and styling. This process leads to genuinely stronger, more resilient hair with improved elasticity and shine.
The core benefits of a DIY hair oil treatment
- Strengthens and reduces breakage. Oils rich in certain fatty acids, like lauric acid in coconut oil, have a high affinity for hair proteins. They help reduce protein loss from the hair shaft, a common cause of damage. This is a fundamental step when looking for effective products to reduce hair breakage.
- Provides deep, lasting moisture. Natural oils seal the hair cuticle, which locks in moisture and prevents it from escaping. This action is crucial for taming frizz, combating dryness, and giving your hair a naturally smooth and polished finish.
- Improves overall scalp health. Massaging oils into the scalp does more than just feel good. It boosts circulation, soothes dryness, and can provide antifungal or antibacterial benefits, creating a healthier environment for robust hair growth.
Choosing the right oils for your hair type

The key to successful DIY hair oil treatments at home is selecting oils that match your hair’s unique needs. Oils vary in molecular size and properties, making some better suited for certain hair textures and concerns. Broadly, we use two types: carrier oils, which make up the base of your treatment, and essential oils, which are added in small amounts for targeted benefits.
Carrier oils for your hair base
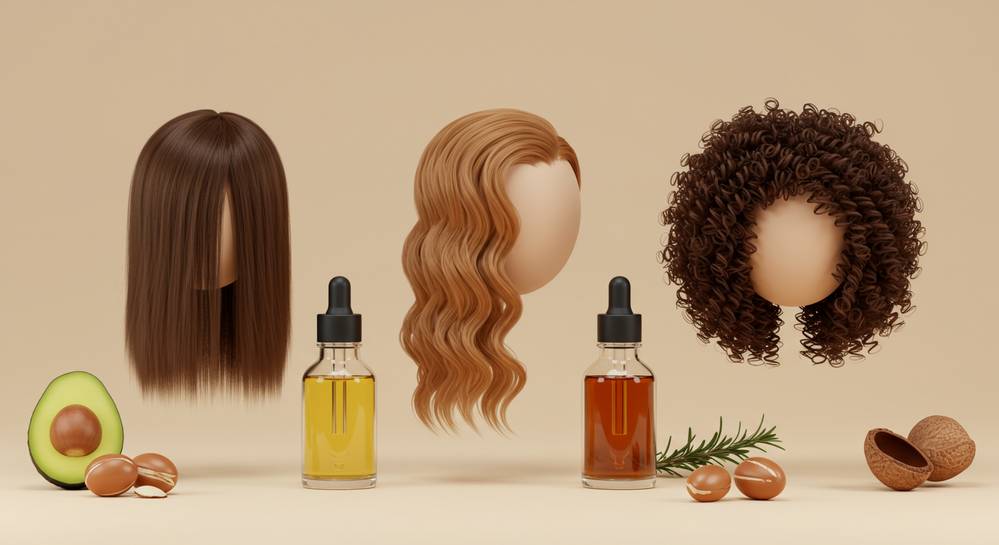
- For Dry or Damaged Hair: Coconut Oil, Argan Oil, and Olive Oil are excellent choices. They are rich and deeply moisturizing, perfect for restoring life to brittle strands.
- For Fine or Oily Hair: Jojoba Oil and Grapeseed Oil are lightweight hair oils that will not weigh your hair down. Jojoba Oil is particularly notable as its structure closely mimics the natural sebum produced by your scalp.
- For Hair Growth: Castor Oil is famous for this purpose. It is very thick, so it is often mixed with a lighter oil like almond or jojoba for easier application.
Essential oils for a potent boost
- For Hair Growth: Rosemary oil has been shown in studies to be highly effective. Peppermint oil can increase circulation to the scalp, promoting a healthy growth environment.
- For Dandruff or Itchy Scalp: Tea Tree oil possesses powerful antimicrobial and antifungal properties, making it ideal for soothing scalp issues.
Simple DIY hair oil recipes you can make today

Creating your own effective DIY hair oil treatments at home is incredibly simple. You can start with a single oil or create a custom blend. Always mix your ingredients in a clean, dry bowl. Remember that essential oils are potent and should always be diluted in a carrier oil; a general rule is 3-5 drops of essential oil per tablespoon of carrier oil.
Deep moisture mask for dry hair
- Ingredients: 2 tablespoons of Coconut oil, melted, and 1 tablespoon of Argan oil.
- Instructions: Mix the two oils together until well combined. This rich blend is perfect for restoring moisture and shine to parched, lifeless hair.
Scalp stimulating blend for growth
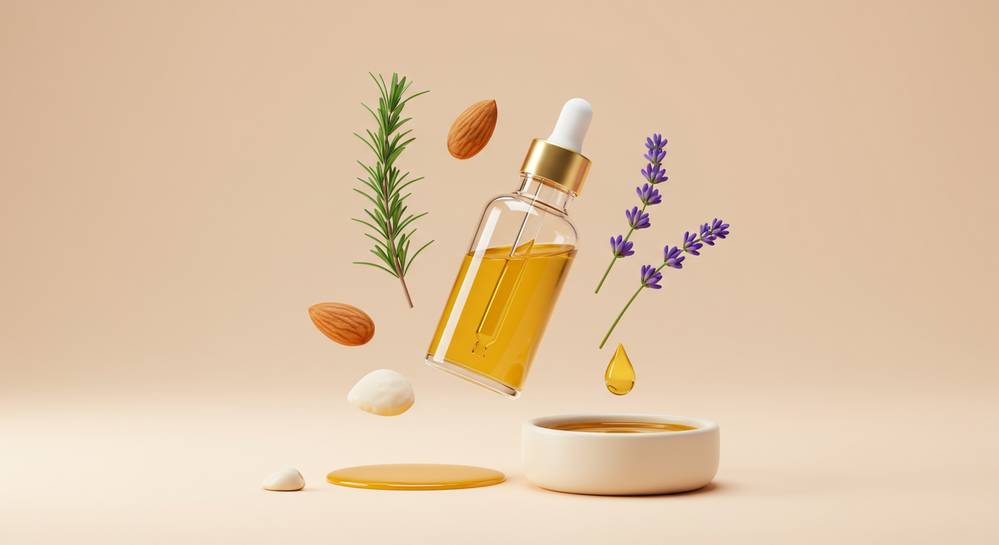
- Ingredients: 2 tablespoons of Jojoba oil, 5 drops of Rosemary essential oil, and 3 drops of Peppermint essential oil.
- Instructions: Combine all ingredients in a small bowl. This lightweight homemade hair oil focuses on nourishing the scalp and stimulating hair follicles to encourage healthy growth.
How to apply and remove your hair oil for best results
Proper application and removal are just as important as the recipe for your DIY hair oil treatments at home. Following these steps ensures you get the maximum benefits from your homemade hair oil without leaving your hair feeling greasy. This method helps the nutrients penetrate deeply for the best results.
- Warm the oil: Gently warm your oil mixture by placing its bowl in a larger bowl of hot water. Warm oil penetrates the hair shaft more effectively. Avoid using a microwave as it can destroy nutrients and create hot spots.
- Section and apply: Part your dry hair into manageable sections. Use your fingertips to gently massage the oil into your scalp with circular motions. This action boosts circulation and helps the oil absorb right at the roots.
- Coat the strands: Work the remaining oil down the length of your hair. Pay special attention to the ends, which are often the driest and most damaged part.
- Let it absorb: Cover your hair with a shower cap or a warm towel. This traps heat and helps the oils penetrate deeply. Leave the treatment on for at least 30 minutes, or even overnight for an intensive session.
- Wash it out correctly: This is a crucial step for easy removal. Apply shampoo directly to your oiled hair before adding water. Lather it up first, as this helps the shampoo bind to the oil, allowing it to rinse away cleanly. You may need to shampoo twice to remove all residue.
Incorporating natural oil treatments into your hair care routine is a simple, affordable, and highly effective way to achieve the strong, shiny hair you desire. By understanding your hair type and choosing the right ingredients, you can create personalized solutions that deliver visible results. For more expert-backed beauty tips and guides, explore everything we have to offer at Beauty Beat Daily.
